Curing Screen Printing Ink: Temps, Times, and Wash Tests
Dry to the touch is not cured. Plastisol needs 320°F through the entire ink layer, water-based needs airflow — here's how to cure with any equipment and prove it worked.
A print can look perfect, feel dry, and still wash off in three cycles. That’s the trap with curing: plastisol never “dries” at all — it only fuses when the entire ink layer, top to bottom, reaches about 320°F. Water-based ink has the opposite problem: it feels dry long before it’s cured, because the water has to evaporate and the binder needs heat.
This guide covers the temperatures, the equipment-specific protocols, and — the part most guides rush through — how to actually verify a cure before you ship 200 shirts.
The one-line answer: cure when the entire ink layer reaches the ink manufacturer’s rated temperature (320°F for standard plastisol) — then prove it with a stretch test and a wash test. A dry surface proves nothing.
What “Cured” Actually Means
Plastisol is PVC particles suspended in plasticizer. It doesn’t evaporate or air-dry — at around 320°F the particles absorb the plasticizer and fuse into a continuous film. Below that temperature, the resin never fuses, no matter how long you wait or how dry it feels. This is why “it seemed fine off the press” means nothing.
Water-based ink cures in two stages: the water must evaporate first, then the binder needs heat (typically 250–320°F depending on formulation) to crosslink. If you blast it with infrared and no airflow, the surface skins over and traps steam underneath — a print that feels dry and fails in the wash. Forced air is not optional for water-based; it’s the mechanism.
Flash vs full cure — two different operations people constantly confuse: flashing between colors only gels the surface (~220°F, tack-free) so the next color doesn’t smear. Full cure is the final trip through the dryer. A shirt that was flashed three times has still never been cured.
Temperature Cheat Sheet
| Ink | Full cure target | Notes |
|---|---|---|
| Standard plastisol | 320°F (160°C) through the ink layer | Hold ~30–60 s at temp for thick deposits |
| Low-cure plastisol | 250–275°F | For polyester & heat-sensitive garments — prevents dye migration |
| Water-based | 250–320°F + forced airflow | Water must evaporate before the binder can cure |
| Discharge | Follow the ink data sheet | The discharge agent needs its activation temperature, and airflow to carry off the chemistry |
| Flash (gel only, not cure) | ~220°F surface, tack-free | Between colors only — never the final step |
Always read your ink’s own data sheet first — these are industry-typical ranges, and formulations genuinely differ.
Curing by Equipment: The Real Protocols
Conveyor dryer (the right way)
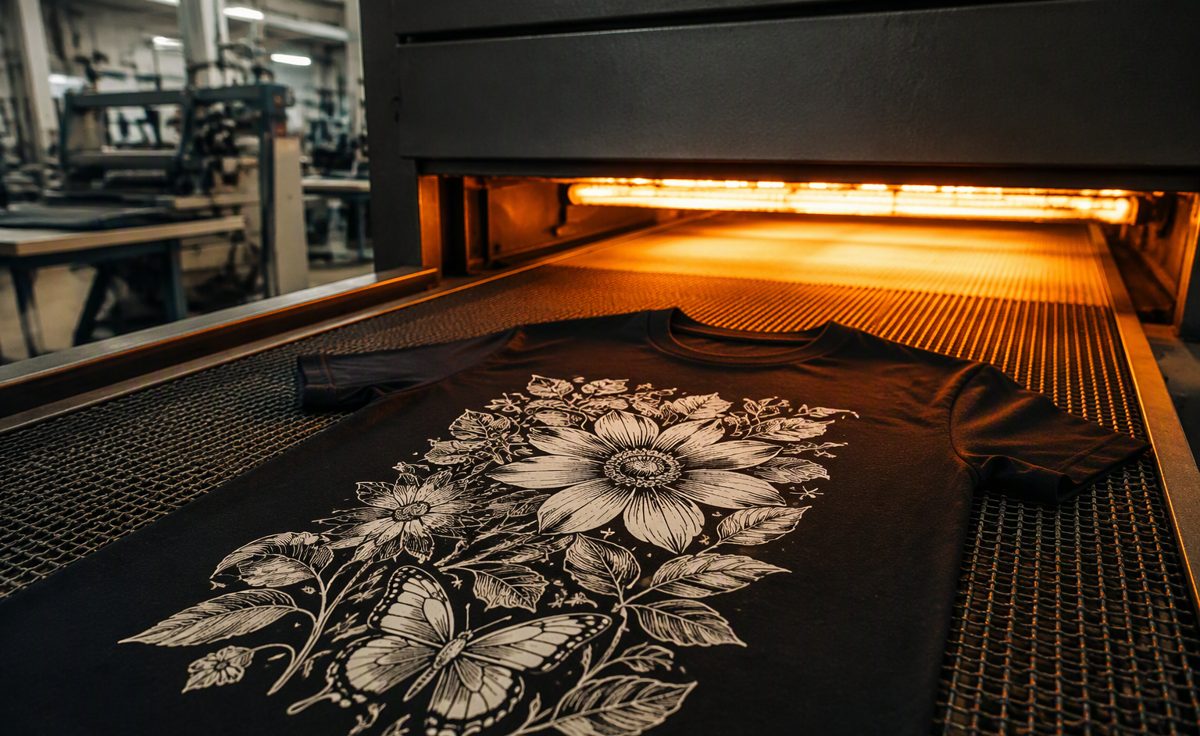
Set the chamber and belt speed so the ink spends enough time in the tunnel to reach cure temp — typically 60–90 seconds for standard plastisol on a gas dryer, 2–3 minutes on a small electric unit. Don’t trust the dryer display: it reads chamber air, not ink. Run a donut probe or temp gun check on actual garments, and re-verify whenever you change garment weight, ink, or belt speed.
Flash dryer (works, with discipline)
A flash can fully cure plastisol for small runs if you treat it like a process, not a wave of heat:
- Pre-heat 10–15 minutes — a cold element produces undercured first shirts every time
- Pre-warm the platen — a cold platen steals heat from the bottom of the ink layer
- Head 2–3 inches above the print, 30–40 seconds typical once stabilized
- For full cure, take the shirt off the platen so heat penetrates from above only
- Keep airflow away — a door opening or a fan cycling can drop the surface temp mid-cure with no visible sign
Heat press (the underrated one)
Set 20–30°F above the ink’s rated cure temperature (the garment never quite reaches platen temp), light-to-medium pressure, 20–30 seconds, with a Teflon sheet or parchment between platen and print. Reliable for runs under ~24 pieces; beyond that the handling time makes a conveyor worth its price.
Heat gun (last resort)
Fine for one-offs and touch-ups. Keep it moving in circles 2–3 inches off the print, monitor with a temp gun, and accept that even heating a large design by hand is genuinely hard. If you’re curing whole orders with a heat gun, the heat press is the cheapest upgrade that actually changes your failure rate.
Why Your Temperature Reading Is Probably Lying
Two tools, two different truths:
- Laser temp gun reads the surface of the ink — and only the spot you point at. A thick white underbase can read 330°F on top while the bottom of the film is still at 280°F.
- Donut probe sits on the garment under the print or rides through the dryer with it, reading the temperature where the ink meets fabric — the place that actually decides cure.
A laser gun is a good insurance policy and a bad proof. If you do one upgrade after reading this, make it the probe.
The Verification Step Everyone Skips
Equipment settings are hypotheses. These two tests are the evidence.
Stretch test (30 seconds, free, do it every run)
- Let the print cool completely — hot plastisol stretches differently and lies to you
- Grip the print with both hands and stretch the fabric about half its natural stretch
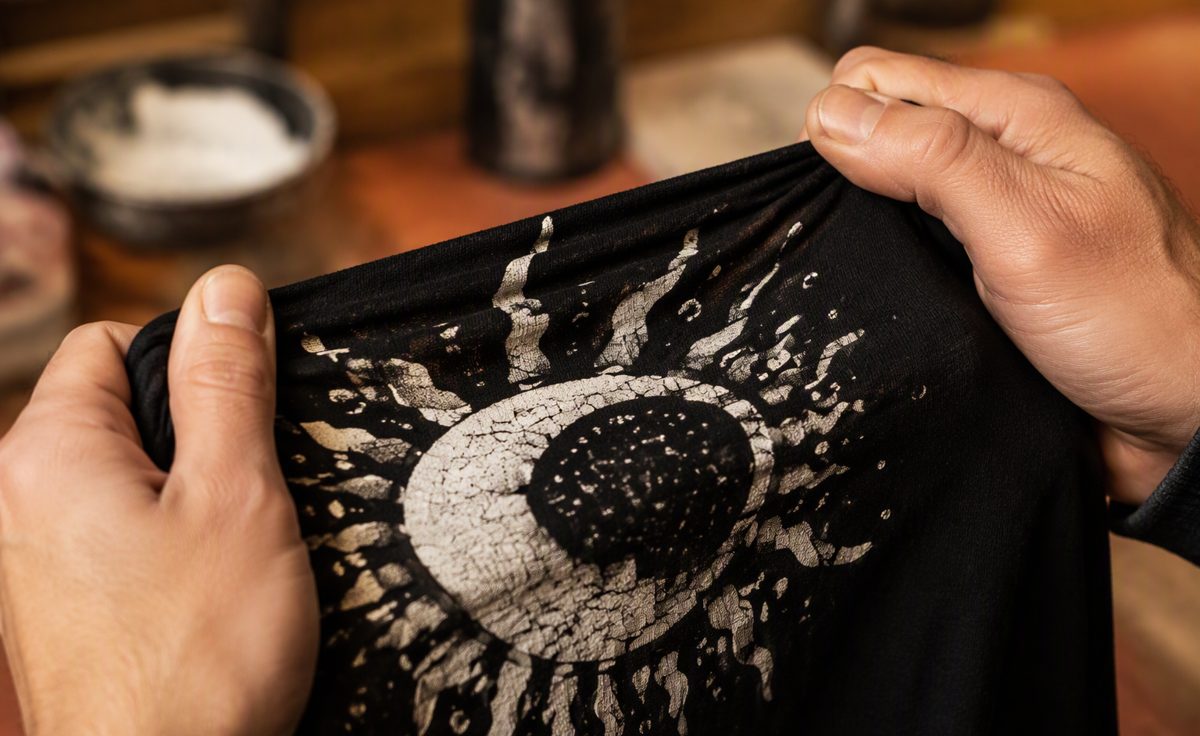
- Pass: the ink stretches and springs back. Fail: it cracks like dried mud and stays cracked — undercured, deeper layers never hit temp
- Learn the difference between cracking (undercure — random, mud-like) and splitting (you pulled too hard — one clean split). Only one of them is a process problem
Wash test (the only definitive proof)
- Take a reject or test shirt from the run
- Hot wash, tumble dry high, 3–5 cycles — harsh beats gentle, you want the worst case
- Fading, cracking, peeling = undercured. Seriously undercured prints often show damage after just 1–3 washes
- Many ink makers recommend waiting 24–48 hours after printing before wash testing, so the film fully stabilizes
Run both tests again whenever anything changes: new ink brand, new dryer, new garment supplier, adjusted belt speed. Variables don’t announce themselves; the wash test catches them.
Failure Triage: Symptom → Cause → Fix
| Symptom | Most likely cause | Fix |
|---|---|---|
| Cracks in the wash test | Undercure — bottom of ink layer never fused | More dwell time / slower belt; verify with probe |
| Top colors peel off, base intact | Over-flashing between colors — gelled base hardened too far to bond | Shorter, cooler flashes — tack-free, not cured |
| Scorched or yellowed shirt | Overcure / too-close flash head | More distance, less time; check poly garments first |
| Print fine on cotton, fails on polyester | Dye migration — garment dye sublimated into the ink | Low-cure ink (250–275°F), lower temps |
| Water-based print feels dry but washes out | Surface skinned over, steam trapped underneath | Forced-air curing, lower temp + longer dwell |
| First shirts of the day fail, later ones pass | Cold flash element or cold platens | 10–15 min pre-heat, warm the platens |
| Random undercure mid-run | Airflow events — doors, fans, HVAC | Control the environment around the flash |
Special Cases Worth Knowing
Thick white underbases are the classic undercure trap: a heavy deposit can be several times thicker than a color layer, and heat has to reach the bottom of it. Give underbase-heavy prints more dwell time and verify with the probe, not the gun.
Polyester and poly blends scorch and dye-migrate before standard plastisol even finishes curing. Low-cure inks exist precisely for this — 250–275°F cure temps keep the garment’s dye in the garment.
Water-based and discharge need airflow as part of the chemistry, not as a nicety. If you’re running these inks through a plain infrared tunnel with no forced air, that — not the ink — is your wash-test failure. More on the ink-side tradeoffs in Water-Based vs Plastisol.
Ink deposit thickness drives everything above — and deposit is decided upstream, at the screen. Mesh count, thread diameter and squeegee all change how much ink you’re asking the dryer to cure; the mesh guide covers that side of the equation.
Want to see the tests in motion? Ryonet’s walkthrough covers flash curing with a donut probe, the stretch test, and the wash test on camera:
FAQ
What temperature does screen printing ink cure at? Standard plastisol: 320°F (160°C) through the entire ink layer. Low-cure formulas: 250–275°F. Water-based: 250–320°F depending on the formulation — plus forced airflow to evaporate the water first. Your ink’s data sheet overrules any table, including this one.
Can I cure screen printing ink with a heat press or household iron? Heat press: yes — set 20–30°F above the ink’s cure temp, light-medium pressure, 20–30 seconds, with a non-stick sheet. Household iron: not recommended — inconsistent temperature and pressure, and direct contact can smear uncured ink.
Why did my print crack after a few washes? Almost always undercure: the surface felt dry but the bottom of the ink layer never reached fusion temperature. Increase dwell time or slow the belt, verify with a probe, and re-run a wash test before production.
Is a flash dryer enough to fully cure shirts? For plastisol in small runs, yes — with a pre-heated element, warm platen, correct height, and 30–40 seconds of dwell. For water-based or discharge you need forced air. For real production volume, a conveyor dryer is the standard for a reason.
How long after printing should I wait before wash testing? Many ink manufacturers recommend 24–48 hours so the ink film fully stabilizes. Wash the test shirt hot, dry high, 3–5 cycles, and compare against an unwashed sample.